

Why Choose Us
Our Product
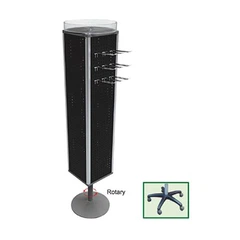
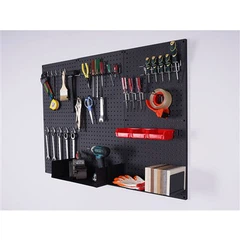
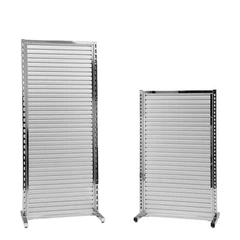
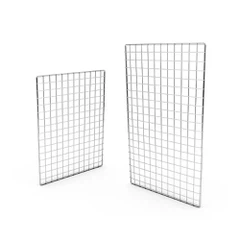
Display rails, slatted panel system, slotted upright post system, mesh panel system, pegboard system, display tables, and furniture.
Our service
BBEST offers a reliable store fixtures supply chain in order to provide our customers a sound international procurement experience. Our sub-contractors have worked with us for many years, and are strictly qualified in terms of quality, delivery time, price and service.
Punctual Delivery
Sufficient storage space to keep 70% regular items in stock.
Ongoing Progress
Regular R&D meeting to make our design better and better.
What is Cloth Hanger Rack?
A cloth hanger rack, often referred to simply as a hanger rack or garment rack, is a piece of furniture or a structure designed to hold, display, and organize clothes using hangers. It is commonly used in homes, retail stores, and laundry or dry cleaning businesses for various purposes.
-
![Collapsible Rolling Racks for Clothes]() Collapsible Rolling Racks for Clothes
Collapsible Rolling Racks for ClothesSize: W1270~1780*D560*1410mm. Finish: Chrome / Powder coating. 2 wheels with brake; 2 wheels without brake
-
![Movable Hanging Clothes Rack]() Movable Hanging Clothes Rack
Movable Hanging Clothes RackSize: W1249*D500*1695mm. Finish: Chrome / Powder coating. 2 wheels with brake; 2 wheels without brake
-
![Custom Floor Displays]() Custom Floor Displays
Custom Floor Displays2 straight arms and 2 slant waterfalls welded with 8 balls each. Height adjustable - 75mm per pitch. Finish: Chrome / Powder coating. Castors or adjustable feet for your selection
-
![Adjustable Clothes Rail On Wheels]() Adjustable Clothes Rail On Wheels
Adjustable Clothes Rail On WheelsSize: W1221*D500*1695mm. Finish: Chrome / Powder coating. 40mm wheels*4pcs
-
![Retail Garment Display Rack]() Retail Garment Display Rack
Retail Garment Display Rack4 straight arms. Height adjustable - 75mm per pitch. Finish: Chrome / Powder coating. Castors or adjustable feet for your selection


