

How do I install a curved hang rail for clothes?
May 27, 2025
Leave a message
Hey there! I'm a supplier of hang rails for clothes, and I've helped countless customers transform their spaces with these nifty little additions. Today, I'm gonna walk you through the process of installing a curved hang rail for clothes. It might seem a bit tricky at first, but with the right tools and a bit of know-how, you'll have it up and running in no time.
Why Choose a Curved Hang Rail?
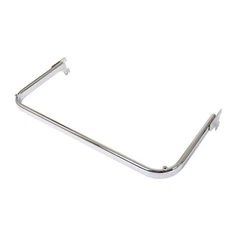
Before we dive into the installation process, let's talk about why a curved hang rail is a great choice. Curved hang rails add a touch of elegance and style to any closet or dressing area. They make it easier to access your clothes, especially in tight spaces, and can even increase the amount of hanging space you have. Plus, they look really cool!
Tools and Materials You'll Need
- Measuring tape
- Drill
- Screwdriver
- Level
- Pencil
- Curved hang rail (obviously!)
- Wall anchors (if you're installing on drywall)
- Screws
Step 1: Measure and Plan
The first step in any installation project is to measure and plan. You'll want to decide where you want to install your curved hang rail and how long you want it to be. Use a measuring tape to measure the length of the wall where you'll be installing the rail. Make sure to leave enough space at the ends for the brackets.


Next, use a pencil to mark the spots where you'll be drilling the holes for the brackets. Make sure the marks are level and evenly spaced. You can use a level to help you with this.
Step 2: Install the Brackets
Once you've marked the spots for the brackets, it's time to install them. If you're installing on drywall, you'll need to use wall anchors to make sure the brackets are secure. Simply drill a hole in the wall at each mark, insert the wall anchor, and then screw the bracket into the anchor.
If you're installing on a solid wall, like concrete or brick, you can skip the wall anchors and just screw the brackets directly into the wall. Make sure to use the right type of screws for the material you're working with.
Step 3: Attach the Curved Hang Rail
Now that the brackets are installed, it's time to attach the curved hang rail. Simply slide the rail into the brackets and make sure it's level. You may need to adjust the brackets slightly to get the rail to fit properly.
Once the rail is in place, use a screwdriver to tighten the screws on the brackets. Make sure the rail is secure and doesn't wobble.
Step 4: Test the Rail
Before you start hanging your clothes, it's a good idea to test the rail to make sure it's working properly. Hang a few lightweight items on the rail and make sure they hang evenly. If the rail seems to be sagging or wobbling, you may need to adjust the brackets or add additional support.
Step 5: Add Accessories
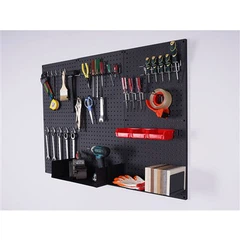
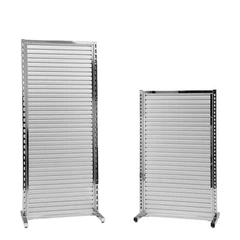
Once you're happy with the installation of your curved hang rail, you can add some accessories to make it even more functional. For example, you can add Waterfall Faceout to the ends of the rail to make it easier to access your clothes. You can also add Steel Upright Post to the rail to create additional hanging space. And if you need some extra storage, you can add Perforated Metal Shelving to the wall above the rail.
Tips and Tricks
- Make sure to use the right type of tools and materials for the job. Using the wrong tools or materials can make the installation process more difficult and may even damage your wall.
- Take your time and measure twice before you drill. It's better to be safe than sorry!
- If you're not comfortable doing the installation yourself, you can always hire a professional to do it for you.
- Make sure to follow the manufacturer's instructions when installing the hang rail. Different hang rails may have different installation requirements.
Conclusion
Installing a curved hang rail for clothes is a great way to add style and functionality to your closet or dressing area. With the right tools and a bit of know-how, you can have it up and running in no time. So what are you waiting for? Give it a try and see how much of a difference it can make!
If you're interested in purchasing a curved hang rail or any other hang rail products, feel free to reach out to us for a quote. We're here to help you find the perfect solution for your needs.
References
- Home Depot. (n.d.). How to Install a Closet Rod. Retrieved from [Home Depot Website]
- Lowe's. (n.d.). Installing a Closet Rod. Retrieved from [Lowe's Website]
Send Inquiry