

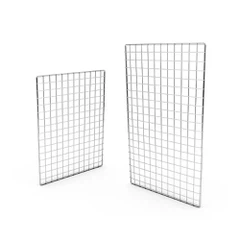
How to install a pegboard organizer on a drywall?
Jul 31, 2025
Leave a message
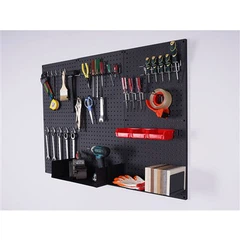
Installing a pegboard organizer on a drywall is a practical and efficient way to keep your space organized. As a supplier of high - quality pegboard organizers, I'm excited to share a detailed guide on how to install a pegboard on drywall. This guide will cover everything from the necessary tools and materials to the step - by - step installation process.

Tools and Materials Needed
Before you start the installation, gather the following tools and materials:
- Measuring tape: To measure the area where you want to install the pegboard and ensure accurate cuts.
- Level: To make sure the pegboard is installed straight.
- Stud finder: This helps you locate the studs in the drywall, which are essential for a secure installation.
- Drill: For making holes in the drywall and the pegboard.
- Screwdriver: To drive the screws into the wall and attach the pegboard.
- Pencil: To mark the spots for drilling and cutting.
- Safety goggles and gloves: To protect your eyes and hands during the installation process.
- Pegboard: You can choose from different types, such as Metal Pegboard Panels, which offer durability and a modern look.
- Screws and anchors: The type of anchors depends on whether you are attaching the pegboard to studs or using drywall anchors.
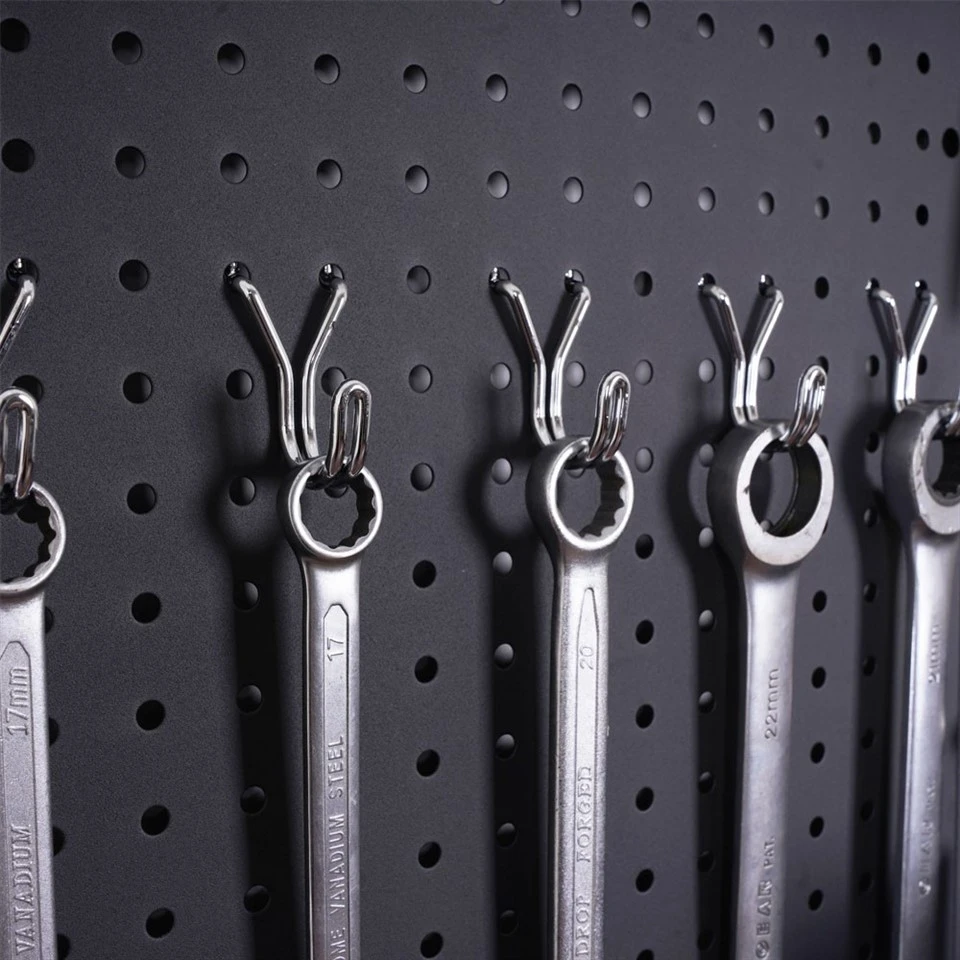
- Pegboard accessories: Such as Pegboard Hooks with Label Holder and Retail Peg Hooks to customize your organization system.
Step 1: Plan Your Installation
- Choose the Location: Decide where you want to install the pegboard. Consider the items you want to hang on it and the accessibility of the area. For example, if you are organizing tools in a garage, choose a wall near your workbench.
- Measure the Space: Use a measuring tape to measure the height and width of the area where you want to install the pegboard. Make sure to leave some space around the edges for a clean look.
- Locate the Studs: Use a stud finder to locate the studs in the drywall. Mark the position of the studs with a pencil. If you can't attach the pegboard to studs, you will need to use drywall anchors.
Step 2: Prepare the Pegboard
- Cut the Pegboard: If the pegboard needs to be cut to fit the space, use a saw to make the necessary cuts. Measure twice and cut once to ensure accuracy.
- Sand the Edges: After cutting the pegboard, sand the edges to smooth them out and prevent splinters.
Step 3: Mark the Installation Spots
- Place the Pegboard on the Wall: Hold the pegboard against the wall in the desired position. Use a level to make sure it is straight.
- Mark the Screw Holes: If you are attaching the pegboard to studs, mark the positions of the studs on the pegboard. If using drywall anchors, mark the spots where you will drill the holes for the anchors.
Step 4: Drill the Holes
- Drill Pilot Holes: Use a drill to make pilot holes in the drywall at the marked spots. The size of the pilot holes should match the size of the screws or anchors you are using.
- Drill Holes in the Pegboard: Drill holes in the pegboard at the corresponding spots. Make sure the holes are large enough for the screws to pass through.
Step 5: Install the Pegboard
- Attach the Pegboard to the Wall: If attaching to studs, simply insert the screws through the holes in the pegboard and into the studs. If using drywall anchors, insert the anchors into the holes in the drywall first and then screw the pegboard onto the anchors.
- Check for Levelness: As you attach the pegboard, use a level to ensure it remains straight. Tighten the screws gradually to avoid warping the pegboard.
Step 6: Add Accessories
- Choose the Right Accessories: Depending on your needs, select the appropriate pegboard accessories. Pegboard Hooks with Label Holder are great for hanging tools and labeling them for easy identification. Retail Peg Hooks are ideal for displaying merchandise in a retail setting.
- Insert the Accessories: Insert the hooks and other accessories into the holes in the pegboard. Make sure they are securely in place.
Step 7: Organize Your Items
- Hang Your Items: Start hanging the items you want to organize on the pegboard. Arrange them in a logical and accessible way.
- Adjust as Needed: If you find that some items are not hanging properly or the organization system needs improvement, make adjustments to the accessories or the layout.
Benefits of Using Pegboard Organizers
- Space Saving: Pegboard organizers allow you to utilize vertical space, which is especially useful in small areas. You can hang tools, utensils, and other items off the floor or countertop, freeing up valuable space.
- Customizability: With a wide range of pegboard accessories available, you can customize your organization system to meet your specific needs. You can easily change the layout as your needs change.
- Visibility: Items hung on a pegboard are easily visible, making it quick and easy to find what you need. This can save you time and frustration, especially in a busy workspace.
Maintenance Tips
- Clean Regularly: Use a damp cloth to wipe down the pegboard and accessories regularly to keep them clean and free of dust.
- Check the Accessories: Periodically check the hooks and other accessories to make sure they are still securely in place. Replace any damaged or loose accessories.
- Inspect the Installation: Check the screws and anchors to ensure the pegboard is still firmly attached to the wall. Tighten any loose screws if necessary.
Contact Us for Your Pegboard Organizer Needs
If you are interested in purchasing high - quality pegboard organizers, we are here to help. Our products are designed to be durable, functional, and stylish. Whether you need Metal Pegboard Panels for a commercial setting or Pegboard Hooks with Label Holder for a home garage, we have the right solutions for you. Contact us to discuss your specific requirements and get a quote.
References
- Home Depot. "How to Install a Pegboard."
- Lowe's. "Pegboard Installation Guide."
Send Inquiry