

How to install slatwall shelving on a vinyl wall?
Dec 29, 2025
Leave a message
Slatwall shelving is a versatile and practical storage solution that can transform any space, especially when installed on a vinyl wall. As a slatwall shelving supplier, I've seen firsthand the benefits of this system and the impact it can have on both residential and commercial settings. In this blog post, I'll guide you through the process of installing slatwall shelving on a vinyl wall, from preparation to the final touches.
Understanding Slatwall Shelving
Before we dive into the installation process, let's take a moment to understand what slatwall shelving is and why it's such a popular choice. Slatwall is a type of wall panel with horizontal grooves or slats that allow for easy attachment of various accessories, such as shelves, hooks, and brackets. This modular design makes it incredibly flexible, allowing you to customize your storage space according to your specific needs.
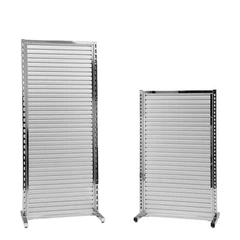
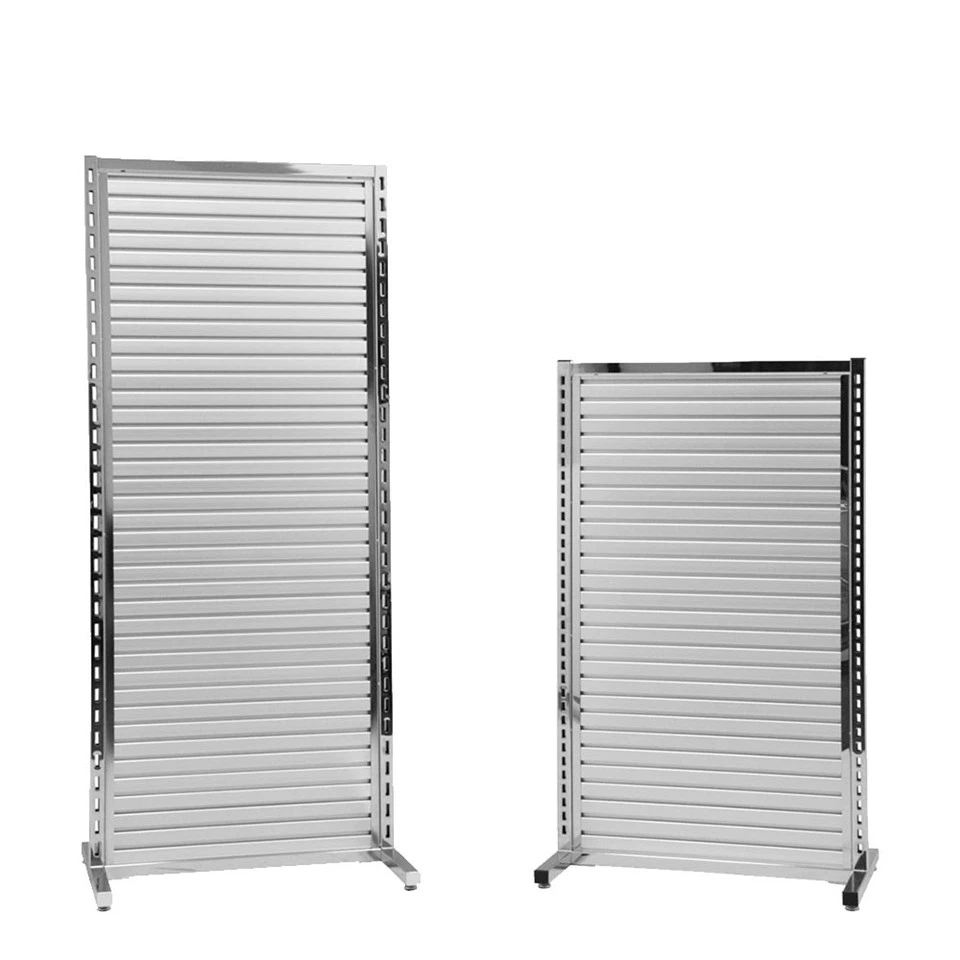
There are several types of slatwall available, including Aluminum Slatwall, which is lightweight, durable, and resistant to corrosion. Another option is the Double Sided Slatwall Display, which provides additional display space and can be used in the middle of a room or as a divider.
Preparing for Installation
The first step in installing slatwall shelving on a vinyl wall is to gather all the necessary tools and materials. Here's a list of what you'll need:
- Slatwall panels: Measure the area where you want to install the shelving and purchase the appropriate number of panels. Make sure to choose panels that are compatible with vinyl walls.
- Shelves, hooks, and brackets: Select the accessories you need based on your storage requirements. Consider using Wire Slatwall Hook for hanging lightweight items.
- Measuring tape: Accurately measure the wall to ensure a proper fit.
- Level: Use a level to ensure the slatwall panels are installed straight.
- Drill: You'll need a drill to make holes for the mounting hardware.
- Screws and anchors: Choose the appropriate screws and anchors for your vinyl wall.
- Pencil: Mark the wall for reference during installation.
Measuring and Marking the Wall
Once you have all the necessary tools and materials, it's time to measure and mark the wall. Start by measuring the height and width of the area where you want to install the slatwall shelving. Use a pencil to mark the top and bottom of the wall, as well as the sides. Make sure the marks are level and straight.
Next, measure and mark the location of the studs in the wall. Studs are the vertical wooden beams that provide support for the wall. You can use a stud finder to locate the studs, or you can look for electrical outlets or light switches, which are usually attached to studs. Mark the location of the studs with a pencil.
Installing the Slatwall Panels
With the wall marked, it's time to install the slatwall panels. Start by aligning the first panel with the marks on the wall. Make sure the panel is level and straight. Use a drill to make holes in the panel where it aligns with the studs on the wall. Insert screws through the holes in the panel and into the studs to secure the panel in place.
Continue installing the remaining panels in the same manner, making sure to align them properly and secure them to the studs. If you need to cut a panel to fit a specific area, use a saw to make the cut. Make sure to measure and mark the panel accurately before cutting.
Attaching Shelves, Hooks, and Brackets
Once the slatwall panels are installed, it's time to attach the shelves, hooks, and brackets. Start by selecting the accessories you want to use and determining their placement. Use a pencil to mark the location of the holes on the slatwall panel where you want to attach the accessories.
Use a drill to make holes in the slatwall panel at the marked locations. Insert the mounting hardware, such as screws or brackets, into the holes and secure them to the panel. Make sure the accessories are level and straight before tightening the screws.
Finishing Touches
After the shelves, hooks, and brackets are attached, it's time to add the finishing touches. You can use a clean cloth to wipe down the slatwall panels and remove any dust or debris. You can also add decorative elements, such as paint or decals, to personalize the look of the shelving.
Tips for a Successful Installation
- Make sure to measure the wall accurately before purchasing the slatwall panels and accessories. This will ensure a proper fit and prevent any wasted materials.
- Use a level to ensure the slatwall panels and accessories are installed straight. This will make the shelving look more professional and functional.
- If you're unsure about any step of the installation process, consult the manufacturer's instructions or seek professional help.
- Consider using a stud finder to locate the studs in the wall. This will make it easier to secure the slatwall panels and accessories to the wall.
- Take your time and be patient during the installation process. Rushing can lead to mistakes and a less-than-perfect finished product.
Conclusion
Installing slatwall shelving on a vinyl wall is a relatively straightforward process that can significantly enhance the functionality and appearance of your space. By following the steps outlined in this blog post and using the right tools and materials, you can create a customized storage solution that meets your specific needs.
If you're interested in purchasing slatwall shelving or have any questions about the installation process, please don't hesitate to contact us. We're a trusted slatwall shelving supplier with years of experience in the industry, and we're here to help you find the perfect solution for your space. Contact us today to learn more about our products and services and to start transforming your space with slatwall shelving.

References
- Manufacturer's instructions for slatwall panels and accessories.
- General knowledge of home improvement and installation techniques.
Send Inquiry